Core
Auto categorization
Categorizing the current state of the internet is one thing (see domain mirroring), keeping up with it is another. Auto-categorization helps you discover and categorize new sites based on anonymized usage data. We already run this on our central instance, so with domain mirroring enabled you get the benefits without the work. However, running it on your own instance as well can provide quicker and more relevant results to your users.
Auto-categorization uses both textual and visual machine learning on site data obtained using headless chrome browsers run as kubernetes jobs. This keeps sites isolated from one another while also ensuring their resources are constrained. Visual machine learning is used to detect adult content on sites, and is included in the classifier. The textual machine learning model must be trained according to your use-case. Additionally, images from sites can be sent to project arachnid to scan for CSAM content.
Warning While the categorizer makes every effort to avoid exposing you, as the classifier, to harmful content; there is always a risk. View data obtained from crawled sites at your own risk.
Training the ML model
Training of the textual machine learning model is automated entirely from the admin app. To begin, we’ll have to label some sites to use for training. If you followed the getting started guide, your domain database probably looks something like this:
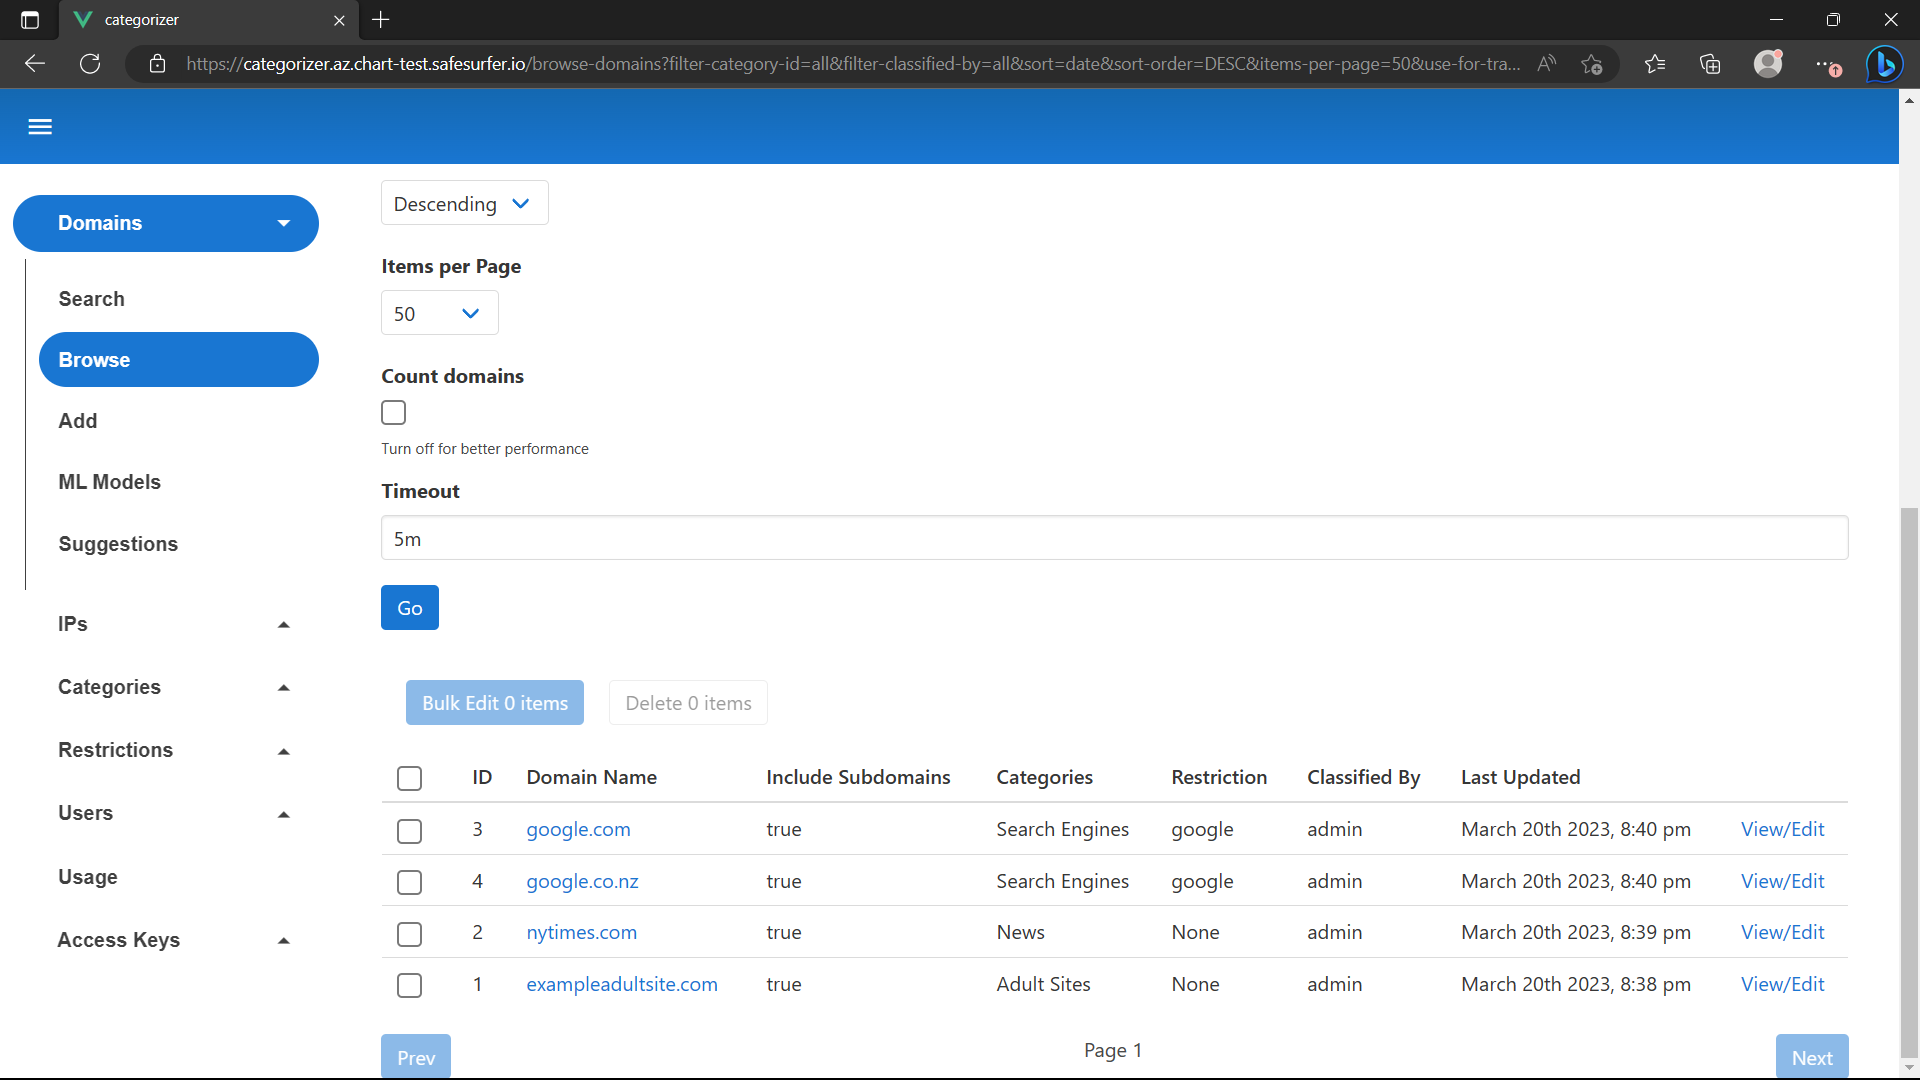
View/Edit google.com and nytimes.com to add them to the training set for their respective categories:
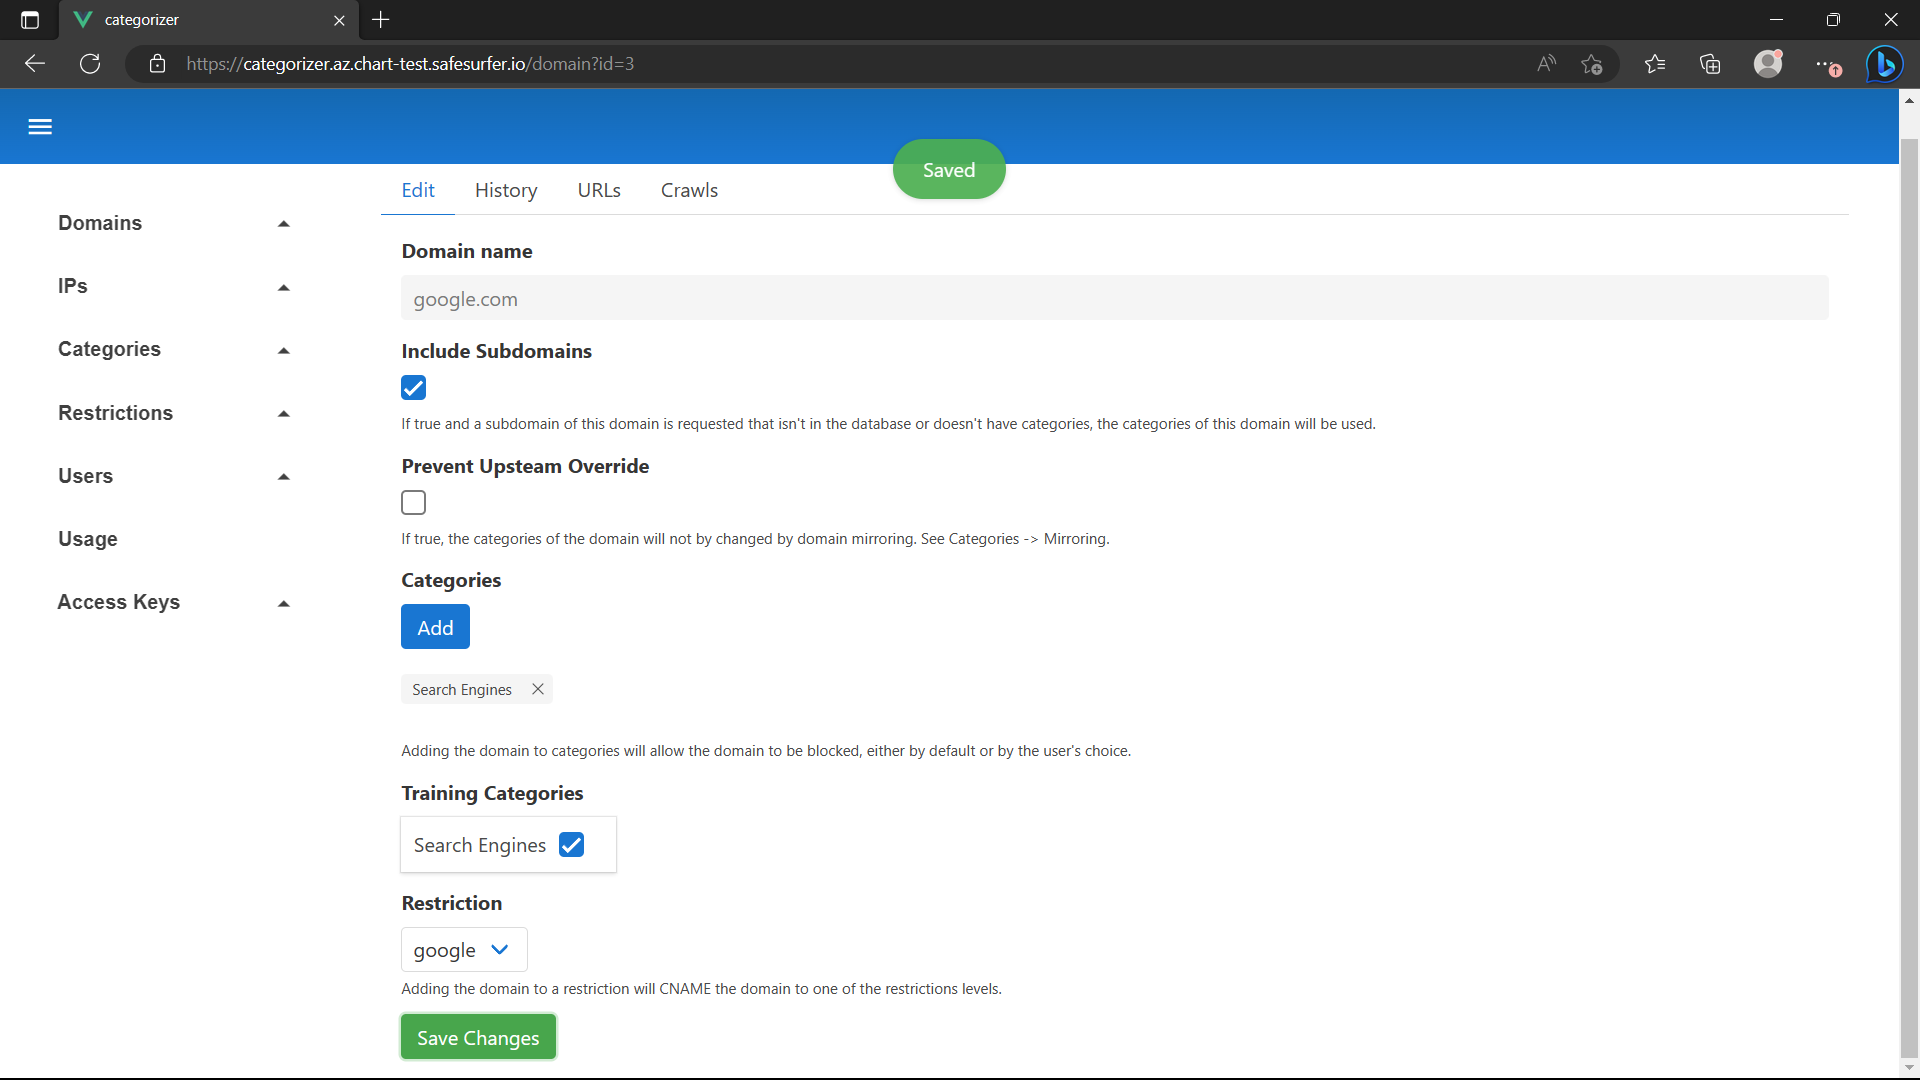
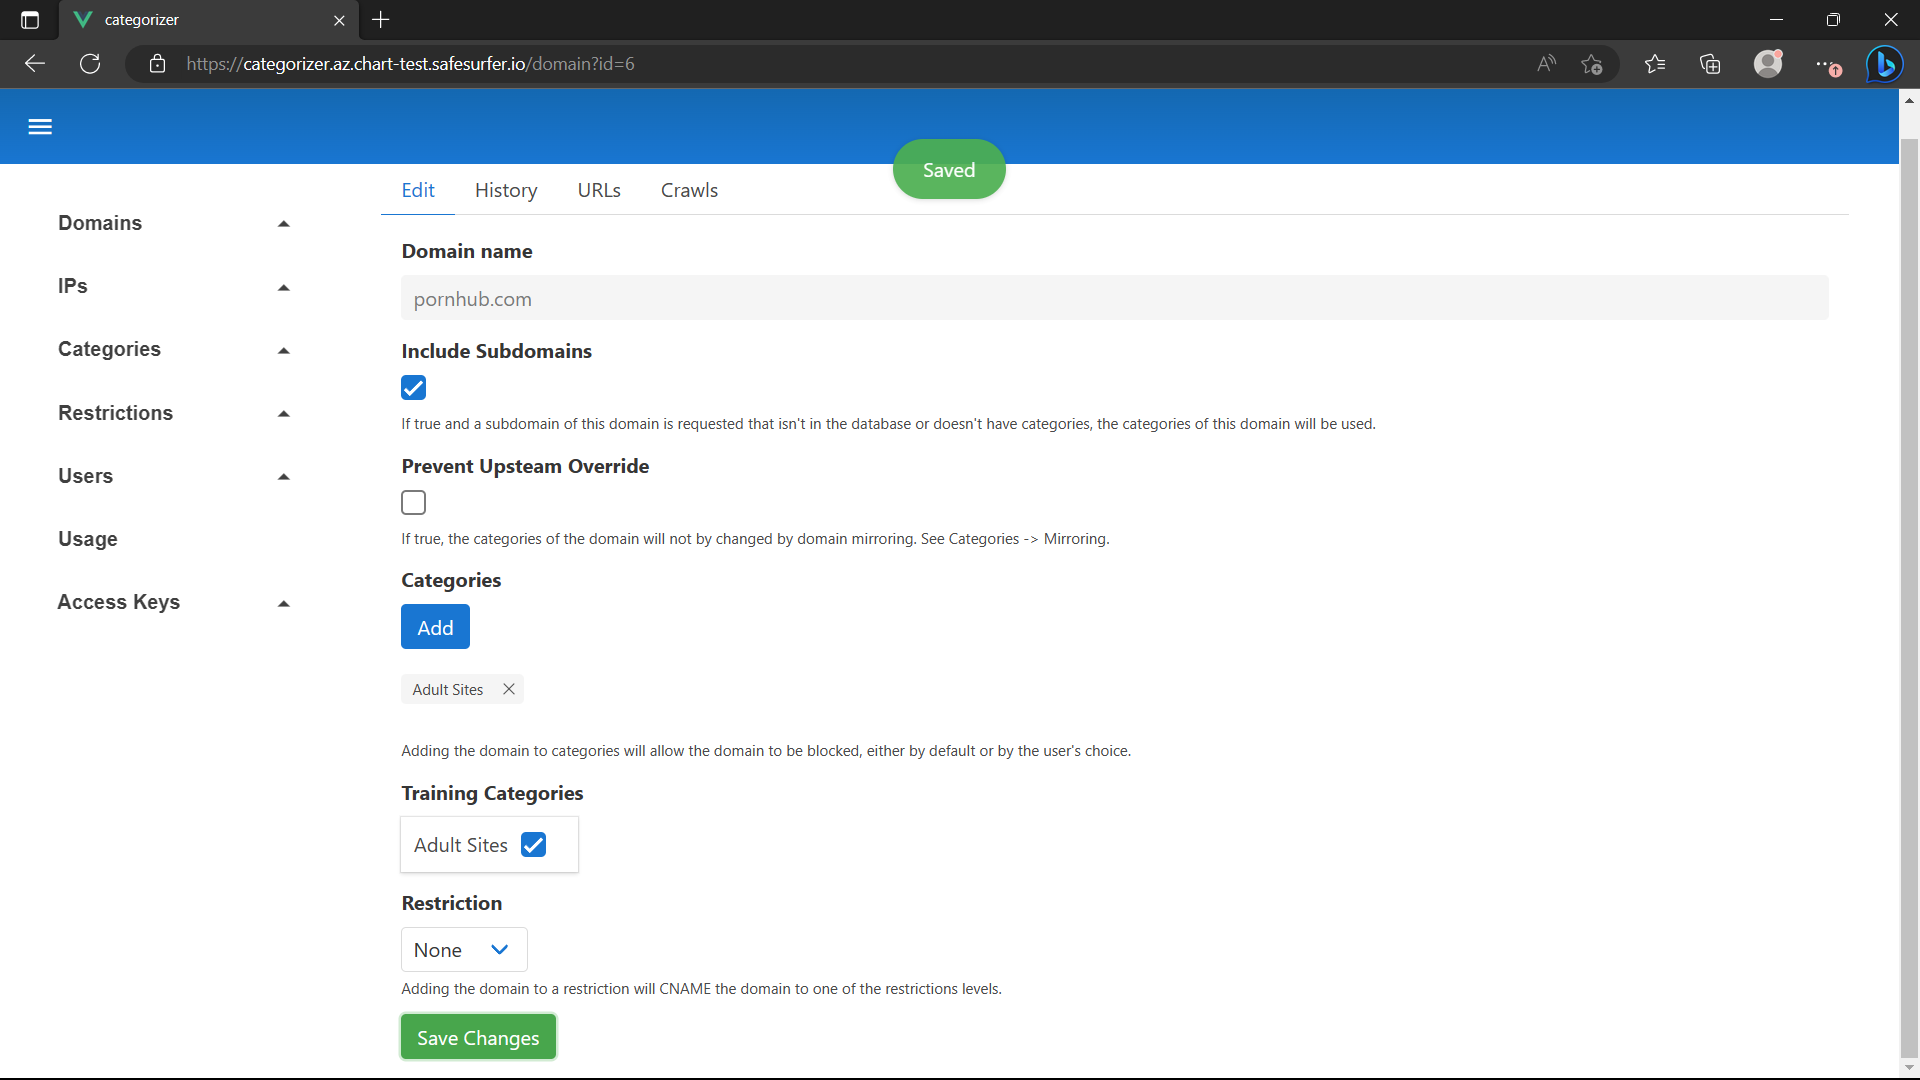
We will want a real example for the Adult Sites category. Add a well-known domain and add it to the training set:
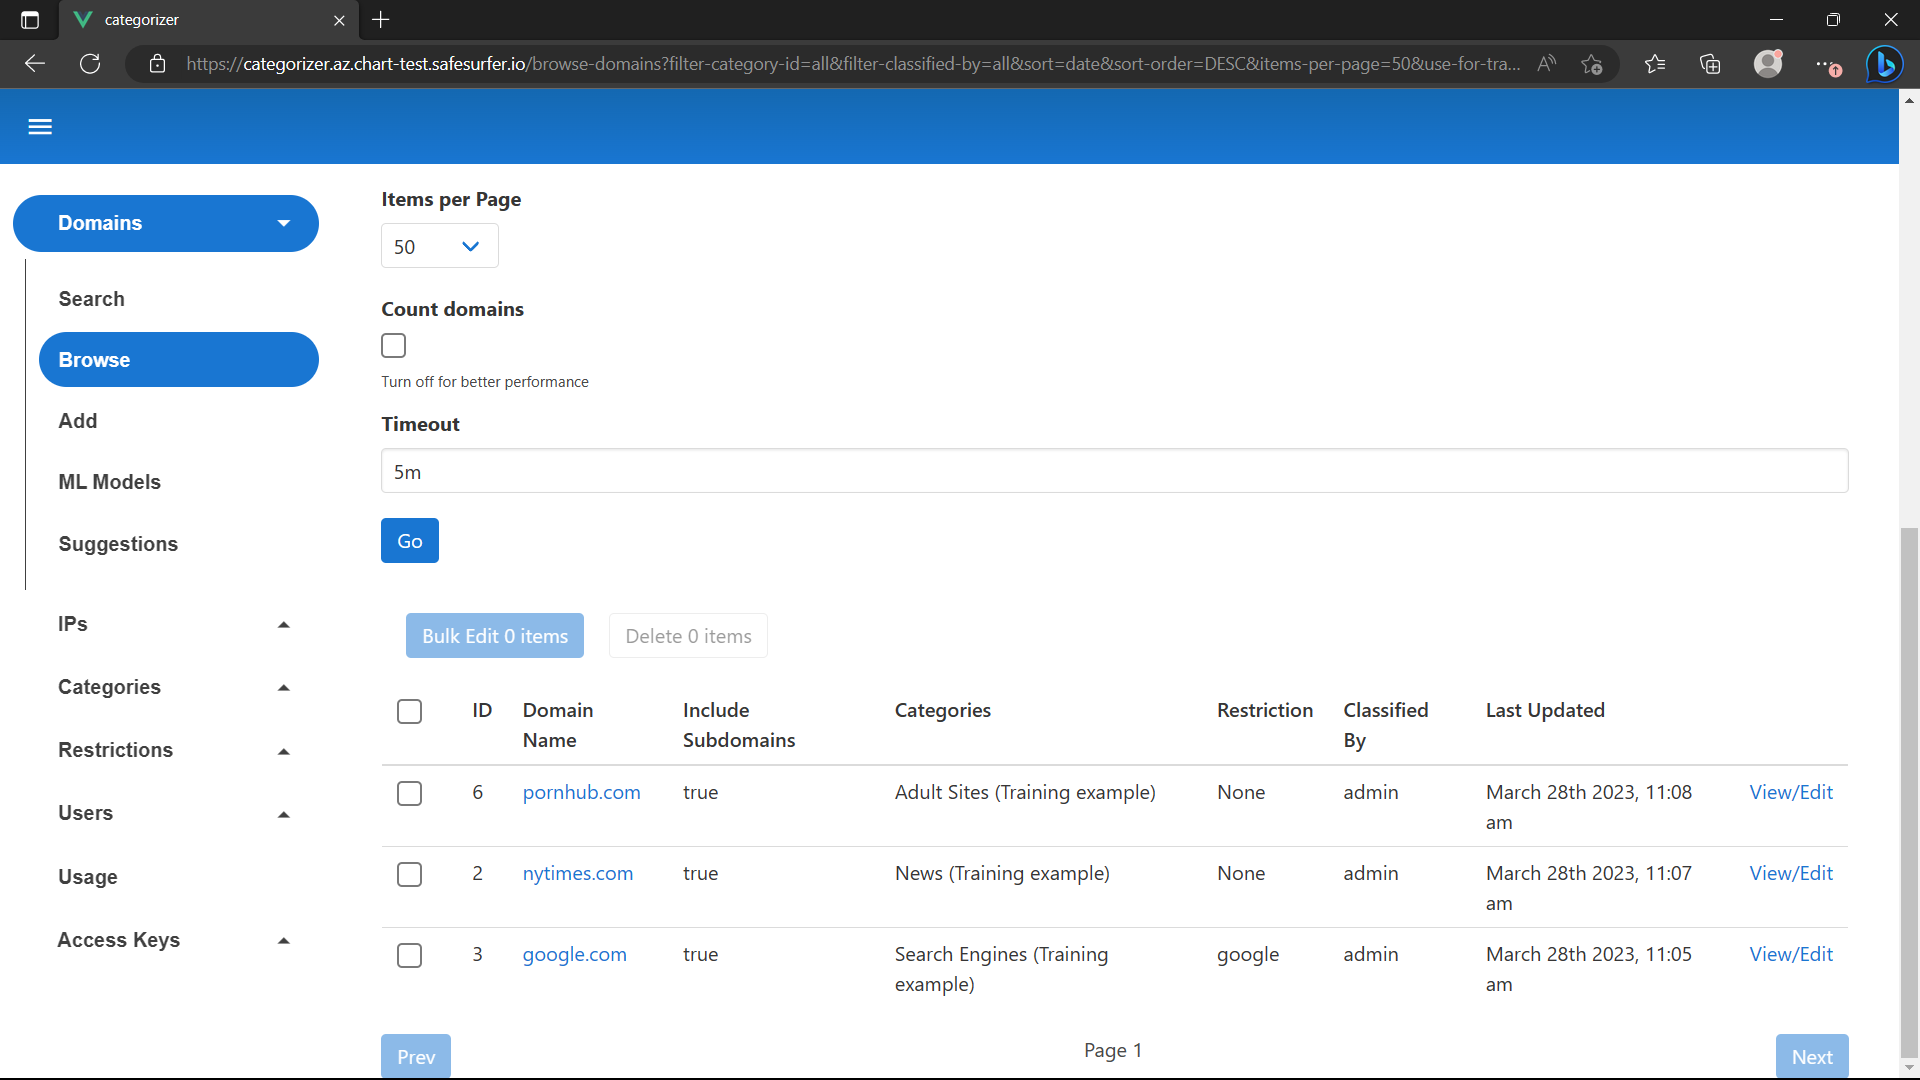
Go to the Domains -> Browse page and filter by “Used for training”. Your training set should now look something like this:
Feel free to add more domains or categories. Before we train the model, we need to enable the auto-categorization deployments by setting the following in our values.yaml:
providers:
  storage:
    model-test:
      platform: redis
      internal: true
      bucketHint: ss_apps
      secret: |
        expiry: '' # no expiry
    resources-test:
      platform: redis
      internal: true
      bucketHint: ss_apps
      secret: |
        expiry: 24h
categorizer:
  adminApp:
    storage:
      enabled: true
      provider: model-test
    crawlerStorage:
      enabled: true
      provider: resources-test
  autoCat:
    enabled: true
    crawlerWorker:
      enabled: true
      jobs:
        storage:
          enabled: true
          provider: resources-test
This example stores the machine learning model and crawl resources in redis, which is temporary storage. In production, you should use real object storage as categorizer.adminApp.storage.provider so your trained machine learning model is persistent. See the providers section in the full values.yaml file for examples. However, you can use redis as crawler storage if you have no requirement to keep the crawl data longer than needed.
In production, you may also wish to run the crawlerWorker in a separate cluster to the rest of your categorizer. This is for a few reasons:
- To get a variety of public egress IPs at scale, running the
crawlerWorkerin a public cluster is ideal. Your main cluster may be a private cluster, which will have only 1 egress IP. - In the case of a security vulnerability that penetrates both Chrome and Kubernetes’s virtualization, however unlikely, the impact will be limited.
- Crawler jobs and categorization are quite resource-heavy compared to the rest of the deployments, especially at scale. This may warrant using a node pool with a larger machine type.
The crawlerWorker communicates through the adminApp only through redis, which is used as a work queue. So you could, for example, edit redis.internal.serviceType,serviceAnnotations, and serviceAllowedSourceRanges in the cluster hosting redis to make it available to the second cluster, then use redis.external in the second cluster to connect to it. Or, create your own redis instance and connect both to it using redis.external.
We’ll proceed with the simple example for now, using temporary storage in a single cluster. Deploy the above, then run kubectl get pods. You should see the crawler worker now:
NAME                                           READY   STATUS      RESTARTS       AGE
safesurfer-crawler-worker-c67877594-xv5q6      1/1     Running     0              63s
The crawler worker creates new pods for each crawl in the cluster and namespace that it’s deployed in. To start traing a new model, navigate to Domains -> ML Models in the admin app. Then, hit Train new model.
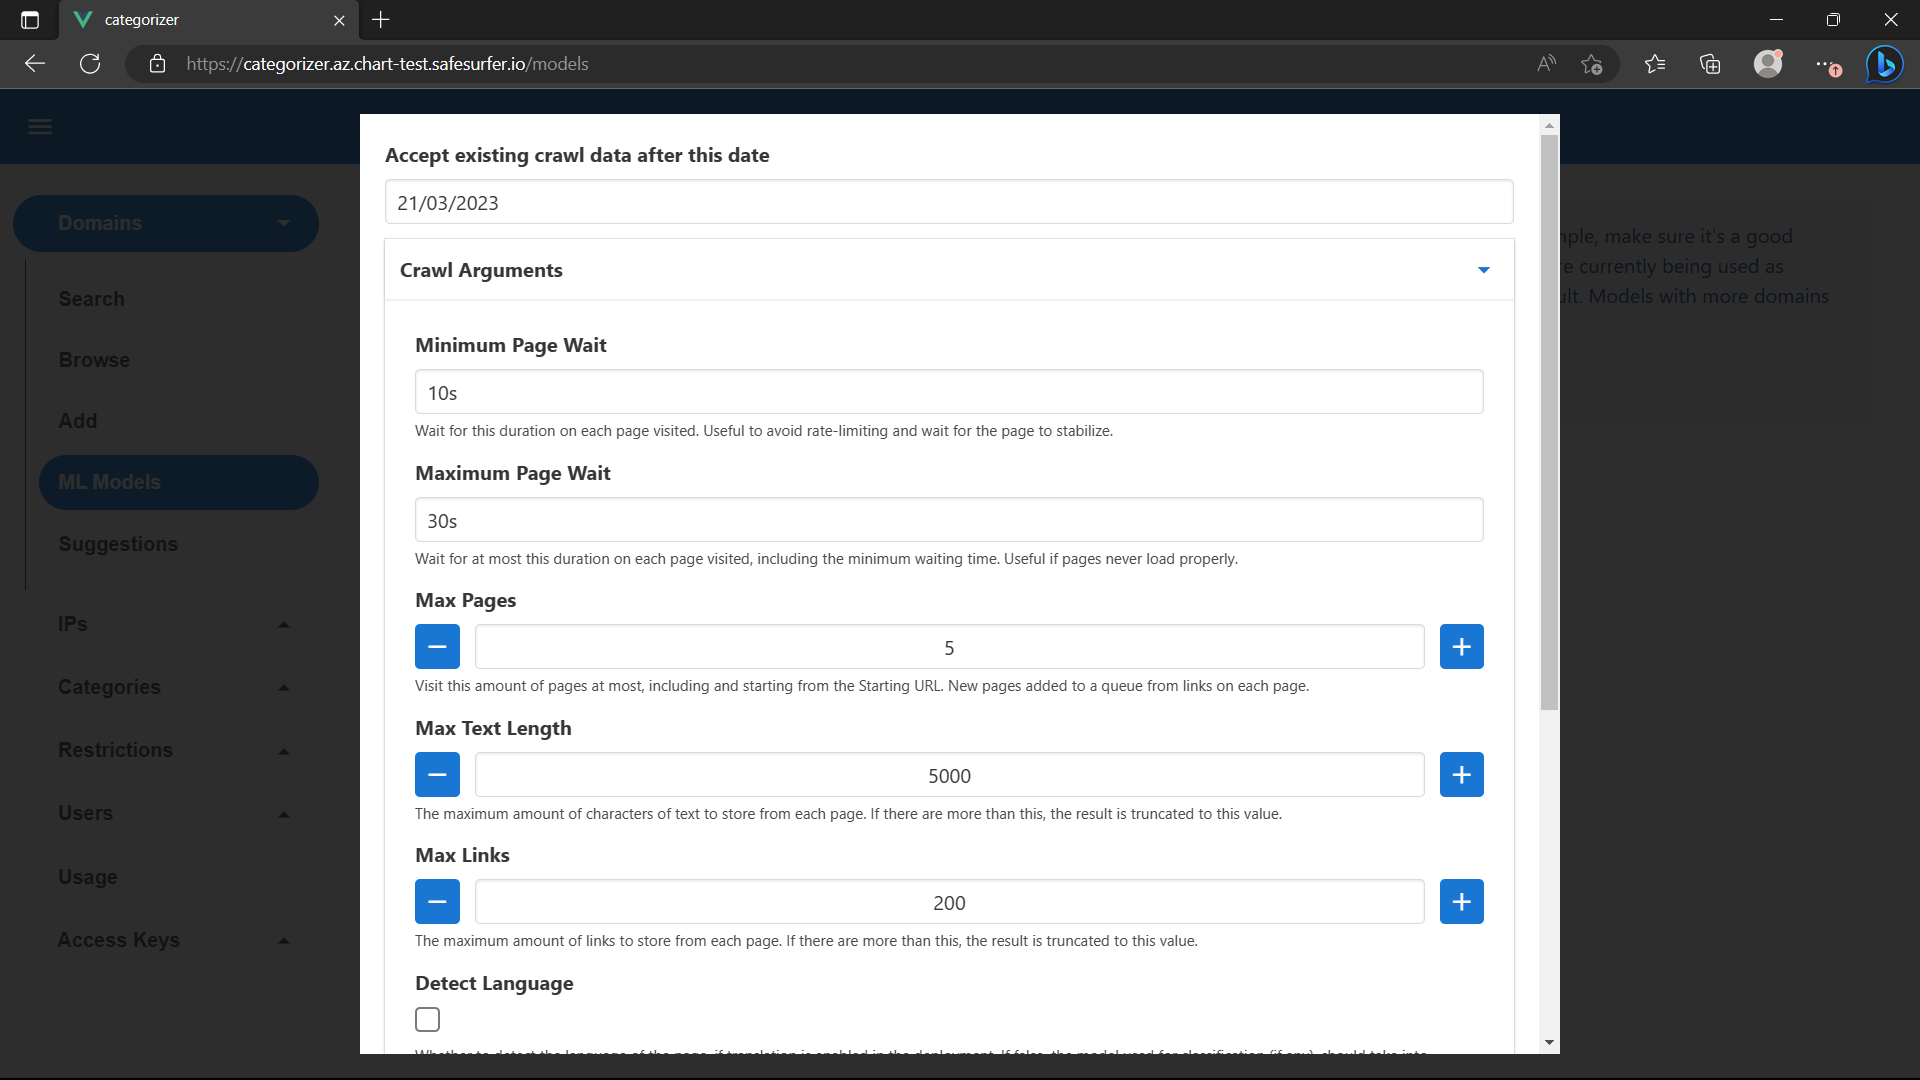
Then, select “Add & Train” at the bottom. A new model should appear. Hit the “View Progress” button:
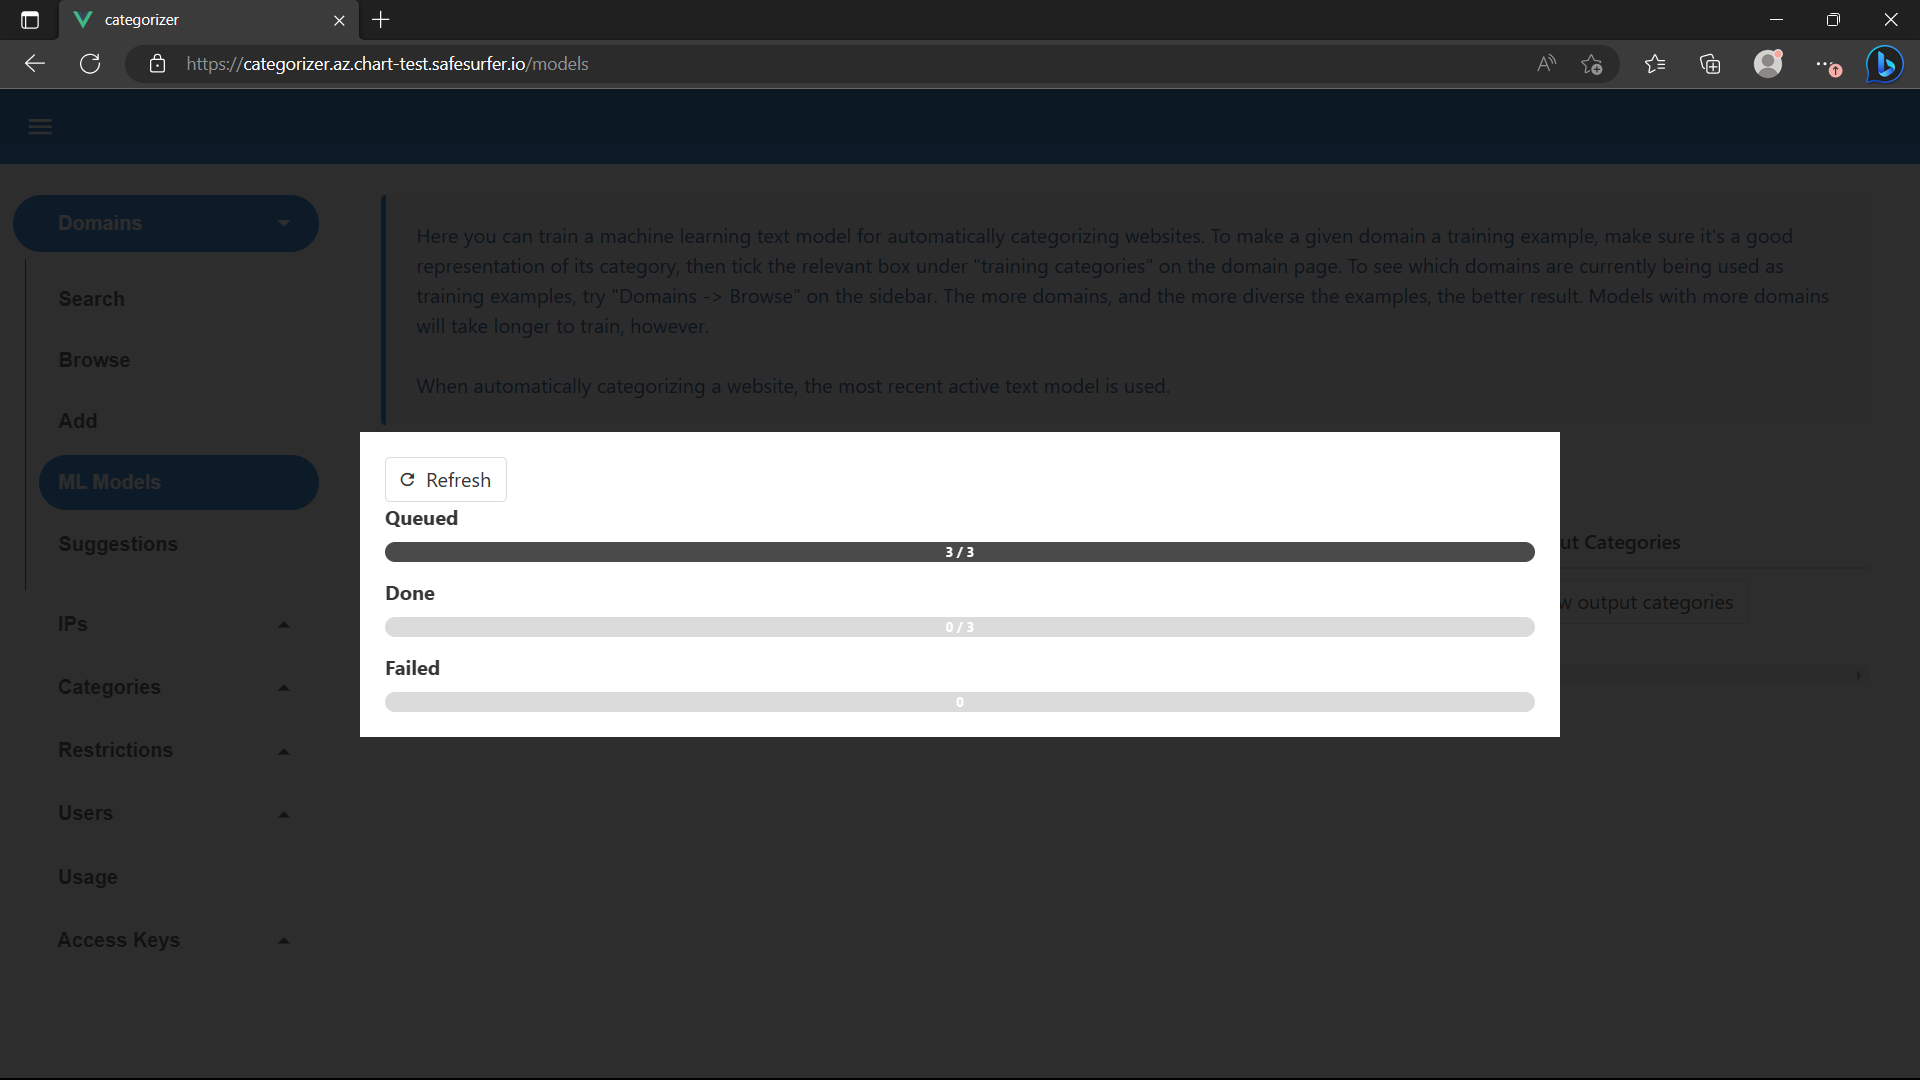
If you run kubectl get pods, you should see that 3 crawler pods have been created:
NAME                                                     READY   STATUS      RESTARTS       AGE
crawler-job-46b1d3fe-d343-44d6-81dc-b6099f5eef92-j8xd2   1/1     Running     0              67s
crawler-job-745b704b-0232-4630-974b-961e4b4e6bfb-7gks9   1/1     Running     0              67s
crawler-job-def2793d-8e9e-4f6a-9163-8d0bfaed9f1e-qtgjc   1/1     Running     0              67s
Once they finish, the model will train and be saved. Refresh the ML models page and make the model active once it’s done:
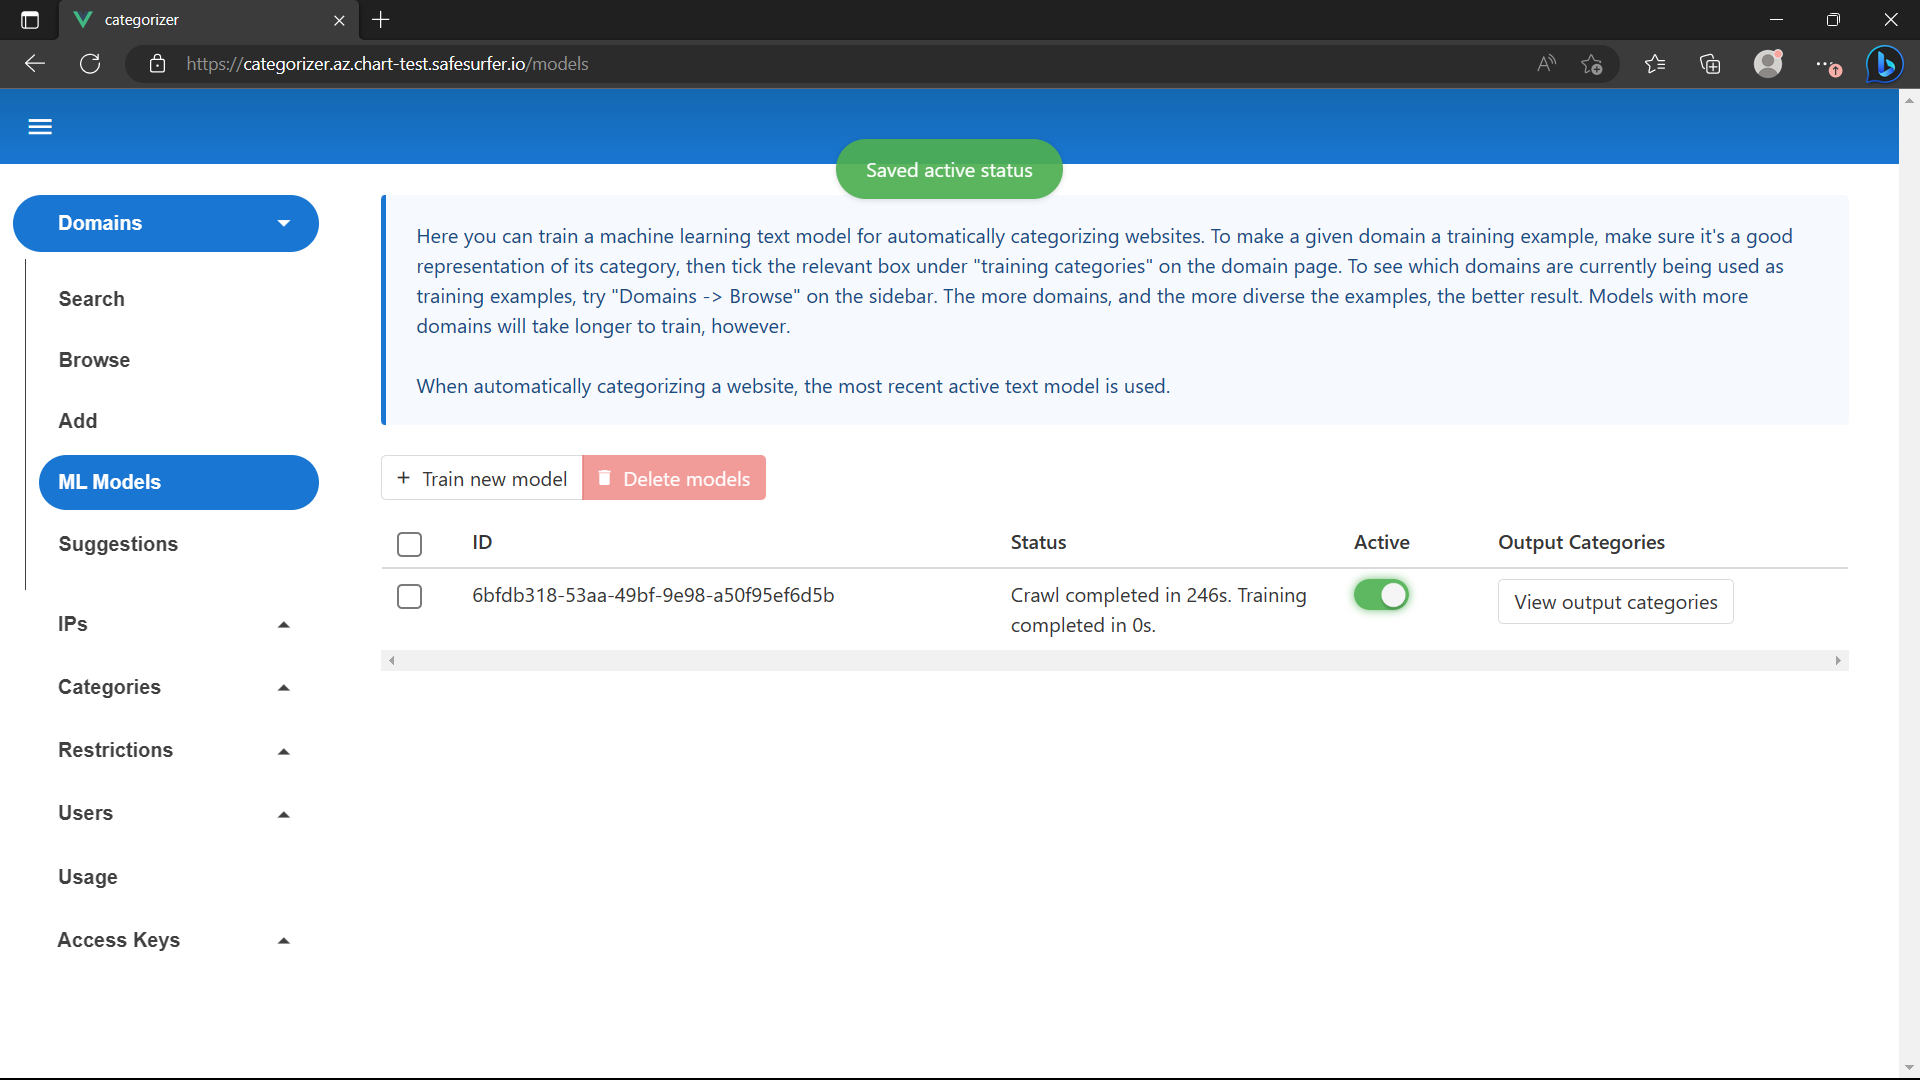
Now let’s set up the rest of the pipeline.
Auto-categorizing sites
In the cluster hosting the admin app, update the following:
categorizer:
  adminApp:
    newDomainNotifierUser:
      enabled: true
      queueOnly: false
      user: New-Domain-Notifier
      accessKey: generate-a-password
  autoCat:
    classifier:
      enabled: true
      classifierStorage:
        provider: model-test
      crawlerStorage:
        provider: resources-test
      adultCategoryID: 1 # Change if your "Adult" category has a different ID
Then update the release. After running kubectl get pods, you should eventually see:
NAME                                           READY   STATUS              RESTARTS         AGE
safesurfer-classifier-df9b5fcf6-5l525          1/1     Running             0                4m14s
Now that we have a classifier, we just need to tell the DNS to send unknown domains to the API of our admin app. In the cluster hosting DNS, or your ss-config values, update the following:
dns:
  newDomainNotifier:
    enabled: true
    categorizer:
      user: New-Domain-Notifier
      key: generate-a-password # The password you generated for the newDomainNotifierUser in the previous code block
    addConfig:
      queue: false
      crawling:
        enabled: true
Warning So that we see results instantly, we’re setting
queueto false. This can open your postgres database to DDOS, deliberate or not, since all new domains will be added to it.
Then upgrade the Chart or re-image the server. If using k8s, you will see something like the following after running kubectl get pods:
NAME                                              READY   STATUS      RESTARTS        AGE
safesurfer-new-domain-notifier-67fb55499f-r6nr2   1/1     Running     0               80s
The DNS will re-rollout also. Once done, any unknown domain should be sent to the categorizer for classification. To test it, let’s try doing a dig for a suspicious domain:
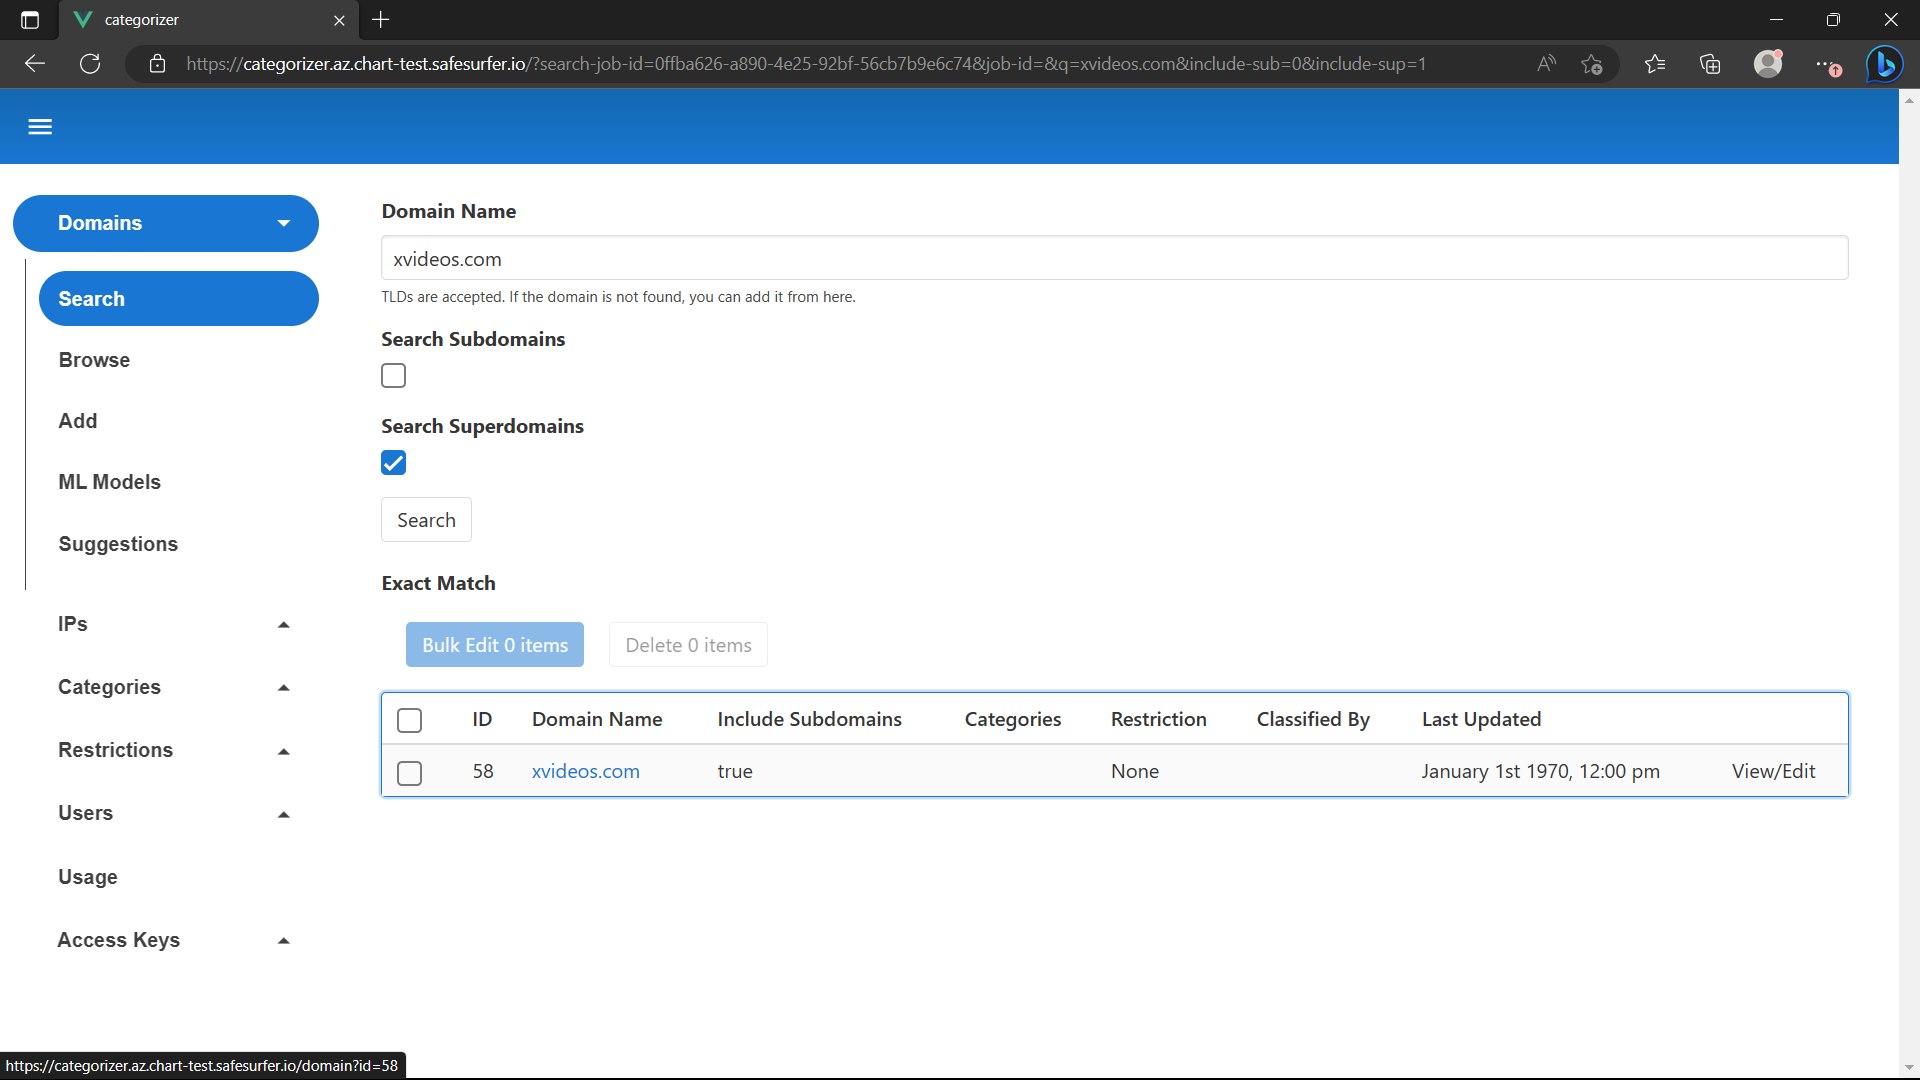
dig @$DNS_IP xvideos.com
After a minute, you should see that the domain has now been added:
A crawl should have been created for the domain. Refresh until it shows Success:
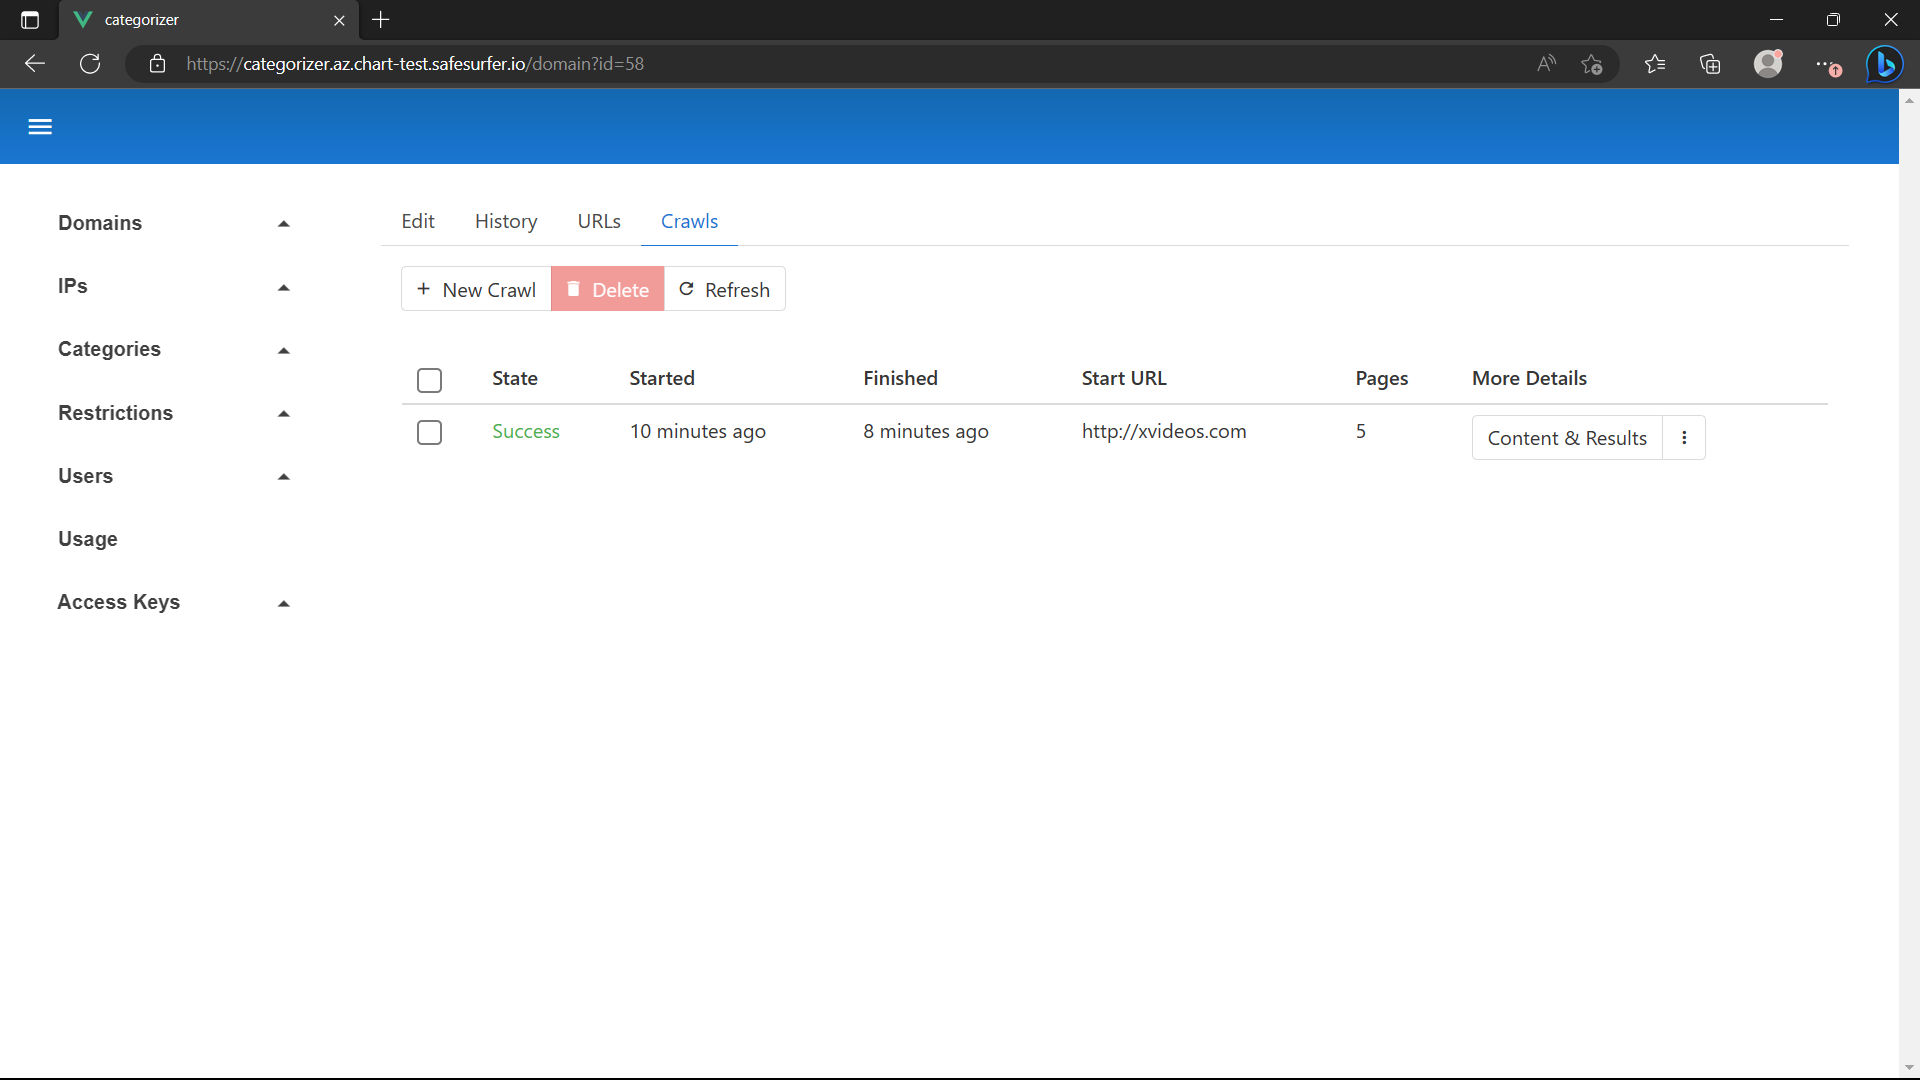
After the crawl is successful, the classification will start. This may take a few minutes. You can wait for it by refreshing the Domains -> Suggestions screen. Once done, you should get a suggestion like this:
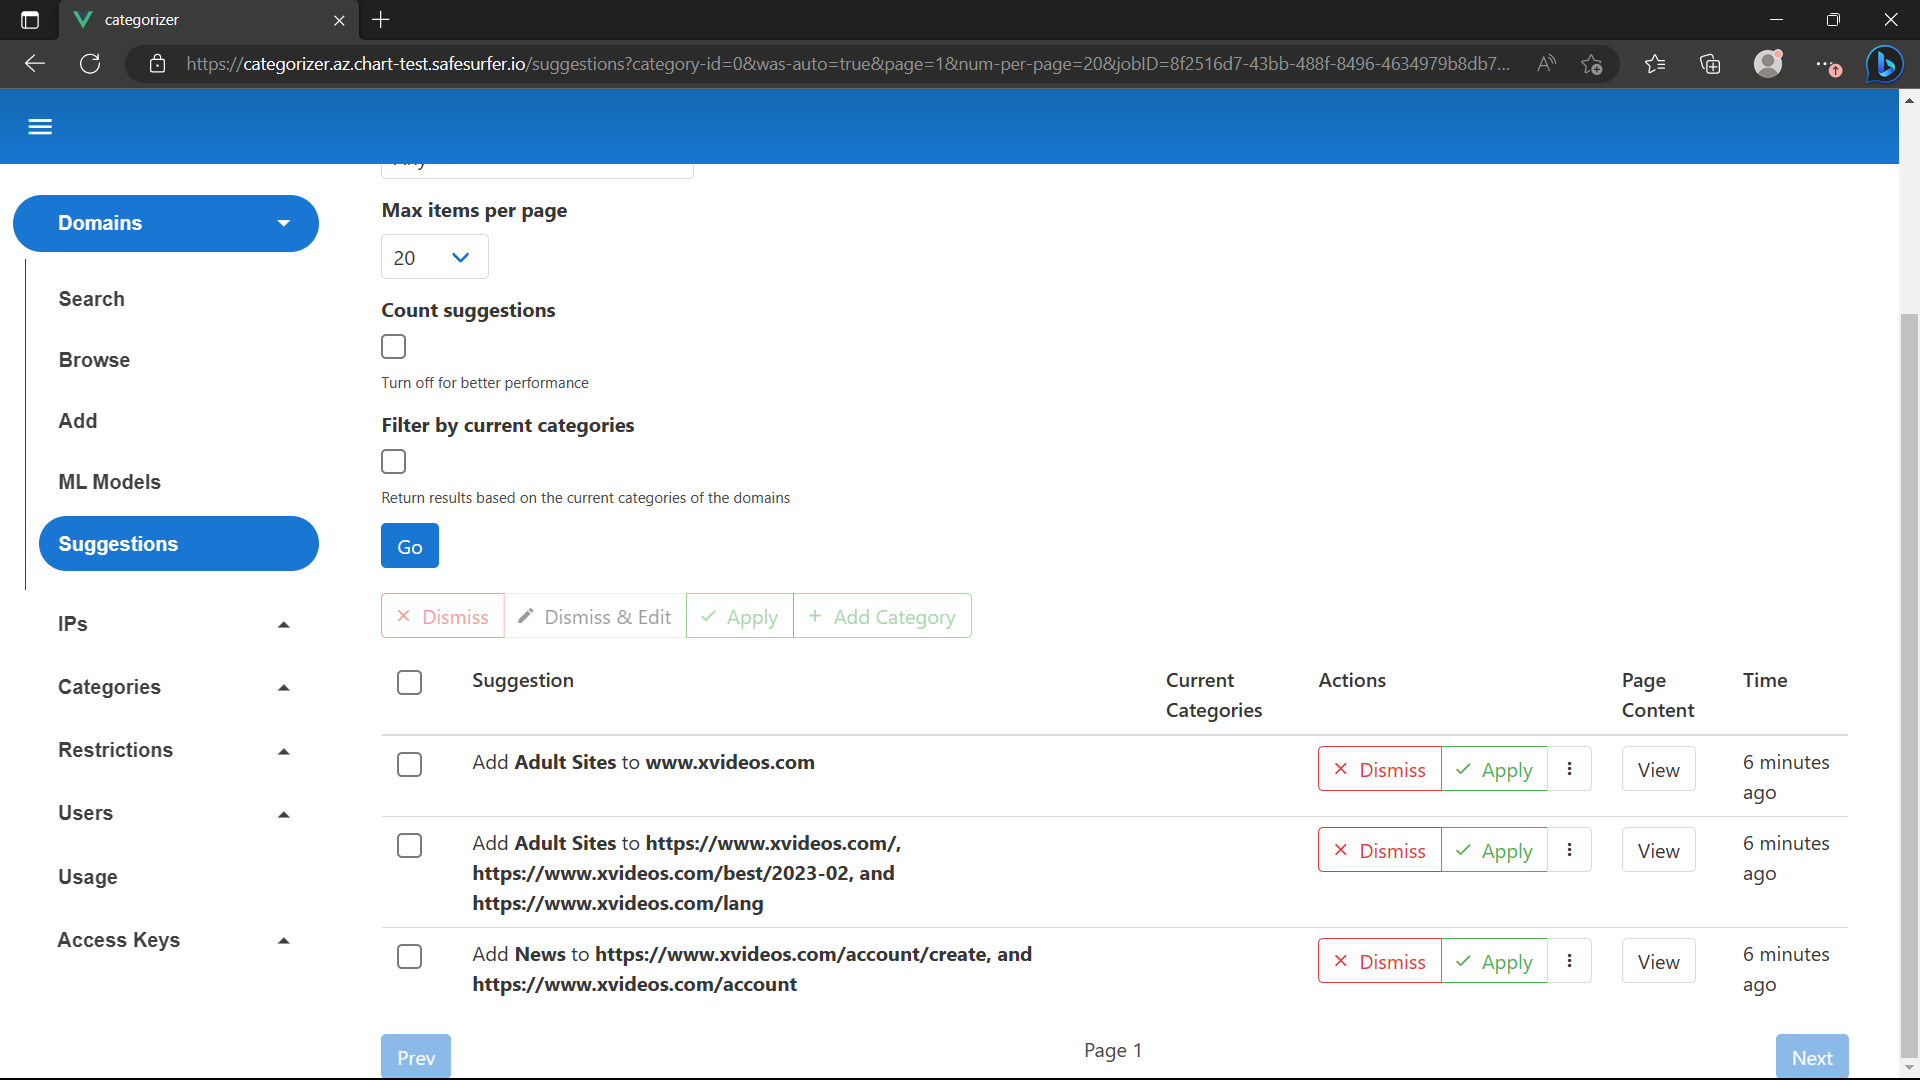
Note that News is being suggested for the account screens because they aren’t explicit and we haven’t given the model a better alternative category. Suggestions will improve with more training data. Feel free to confirm/deny the suggestions.
Queueing new sites
As mentioned earlier, it isn’t recommended to try and auto-categorize every new site that comes in. To limit the amount of domains added, you can enable the new domain queue and update the config of the new domain notifier to use it. In the cluster hosting the admin app, update the following keys:
categorizer:
  adminApp:
    newDomainNotifierUser:
      queueOnly: true
  autoCat:
    addFromDNS:
      enabled: true
      categorizerAccessKey: generate-a-password
After upgrading the deployment, you should see something like the following:
NAME                                              READY   STATUS      RESTARTS       AGE
safesurfer-new-domain-queue-56ddc7f84d-lbftg      1/1     Running     0              111s
The new domain queue will store and prioritize queued domains. Now in the cluster hosting the DNS, or your ss-config values, update the following keys:
dns:
  newDomainNotifier:
    addConfig:
      queue: true
Upgrade the deployment or re-image the server. Once done, new domains should be added to the queue. The best way to test the new domain queue is real traffic, but for now we’ll look up another new domain and wait:
dig @$DNS_IP twitter.com
The new domain queue, in its default configuration, analyzes and adds 10 domains every 10 minutes. If you’re just using the test traffic, you should see it log something like this after a few minutes:
2023/03/28 02:03:32 [info] Analyzing 1 domains
2023/03/28 02:03:37 [info] Added 1 domains successfully
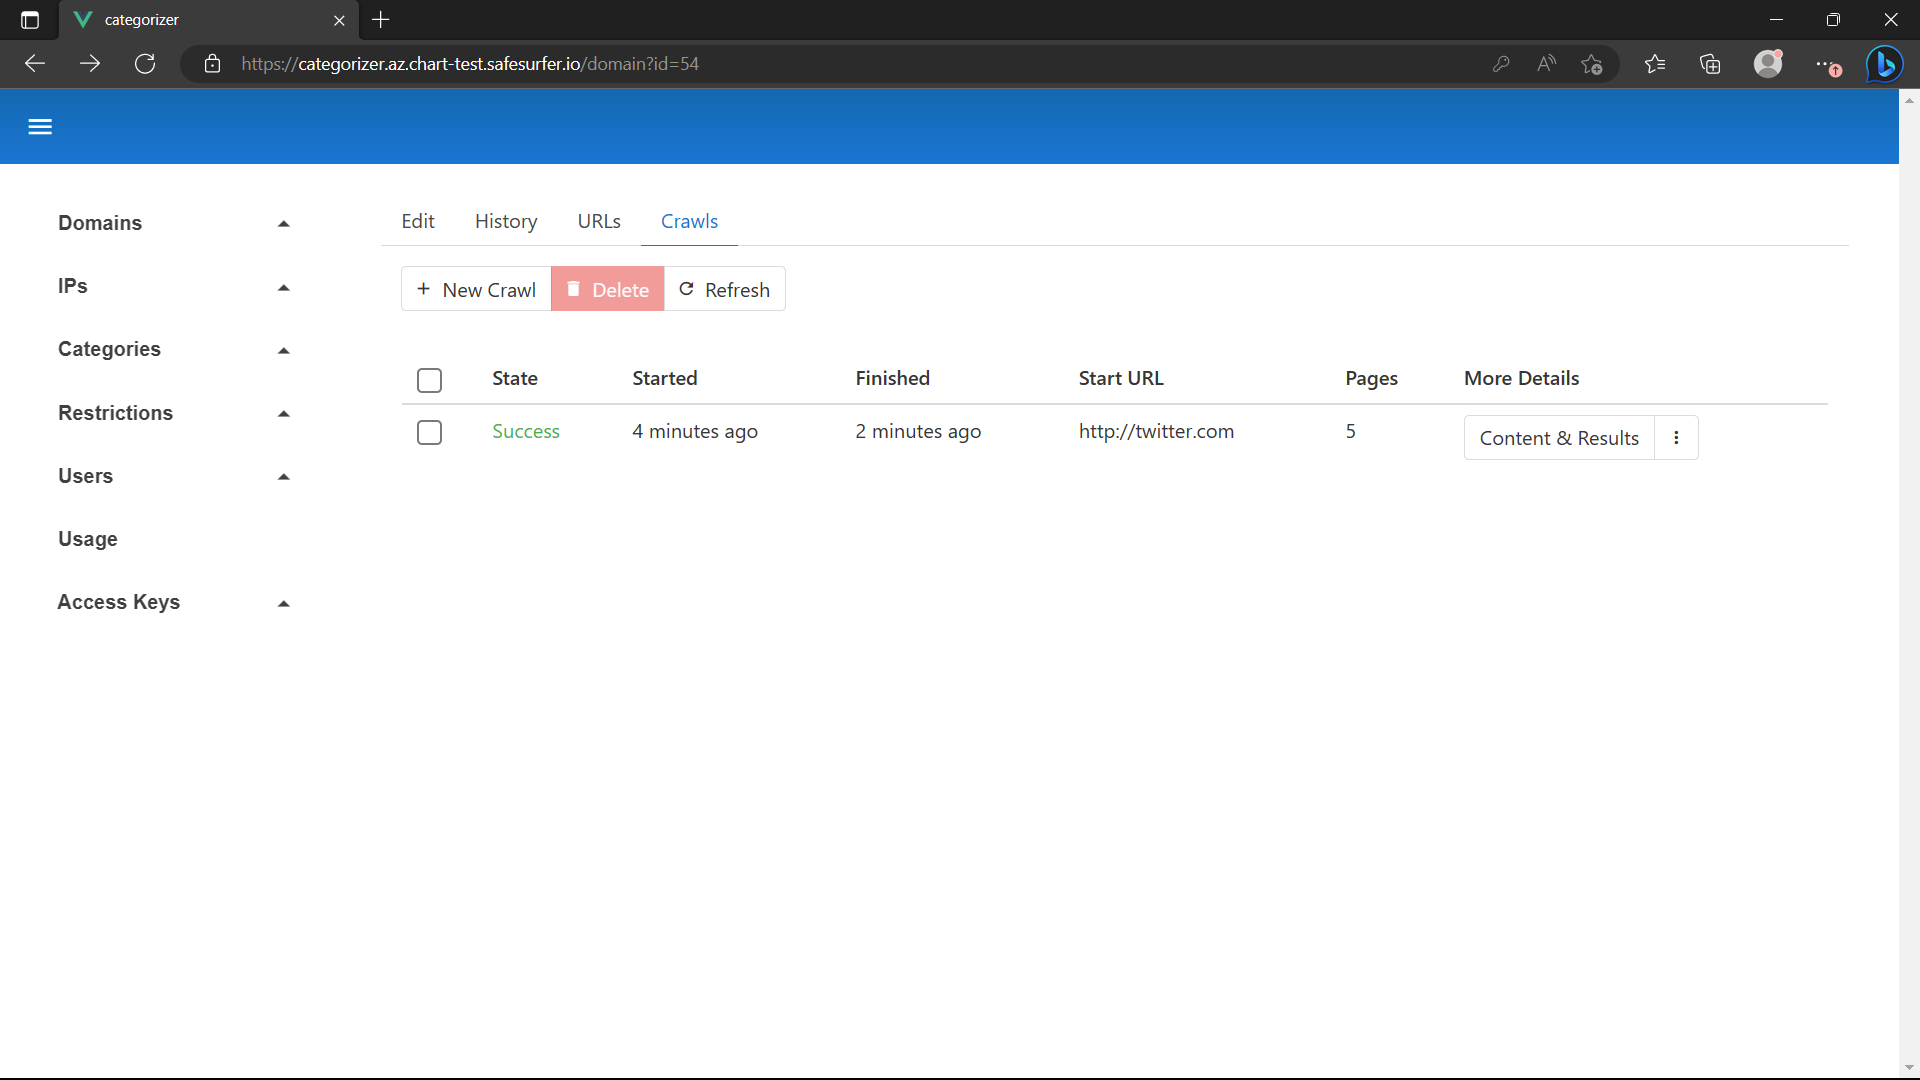
Then, a crawl and eventual classification should appear:
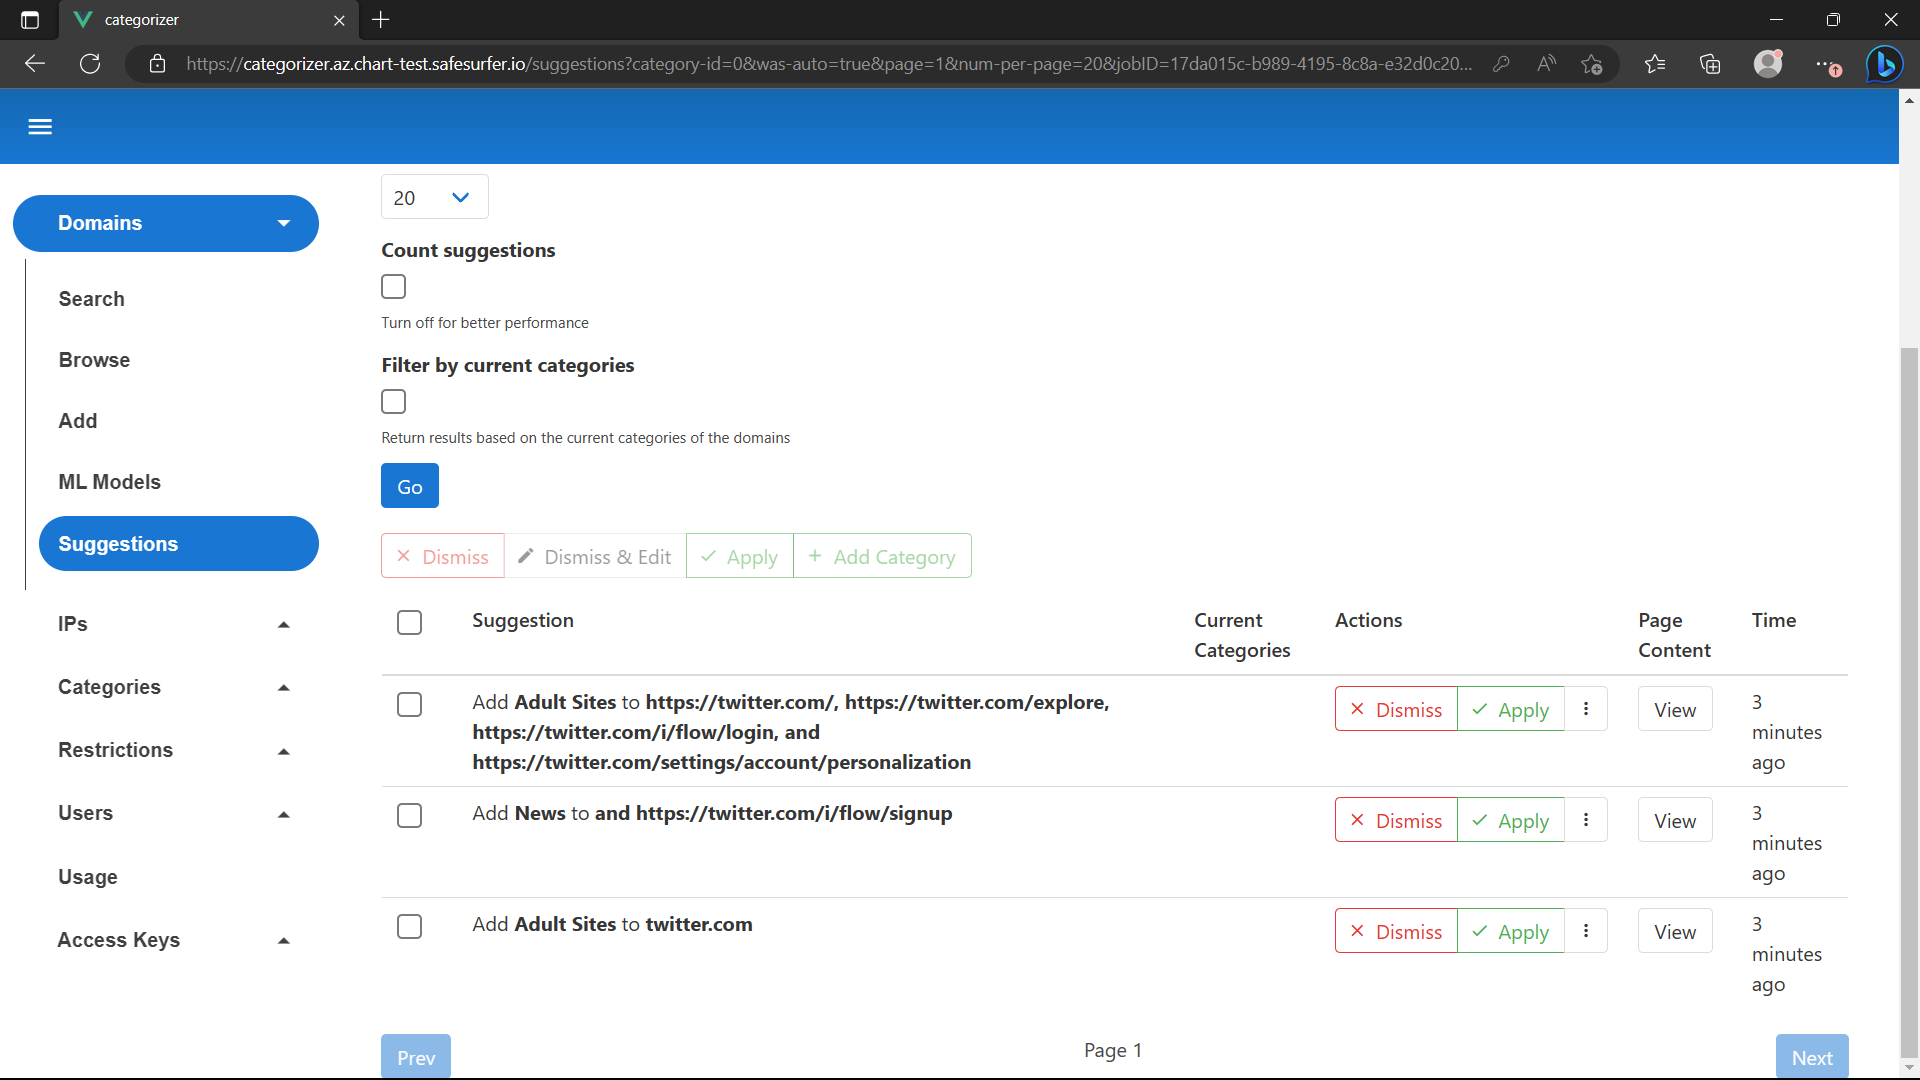
The suggestion here is obviously not correct, but there was no training data to suit this domain. The better quality the training data, the better quality results you will get in suggestions.
By hitting “View” on the suggestion, you can see the data that was gathered from the site and used to make a classification, including a full-page screenshot:
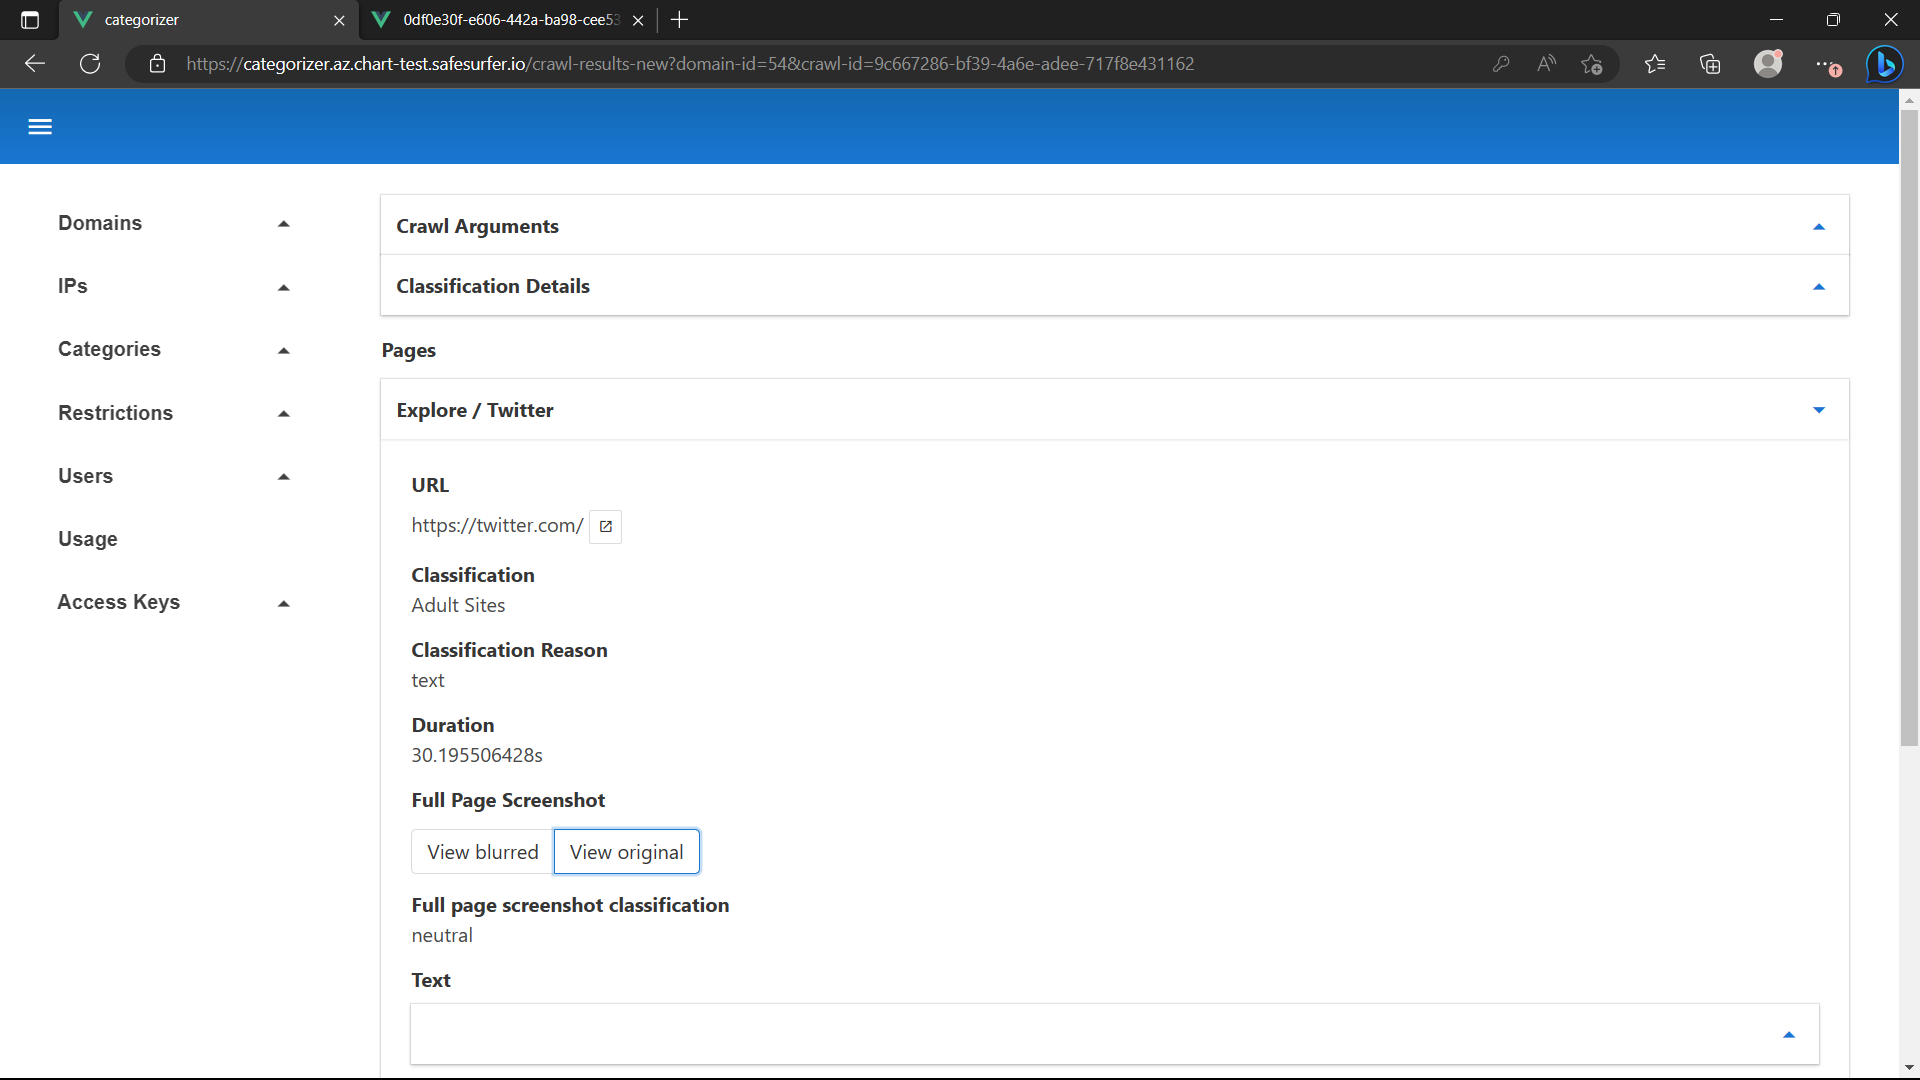
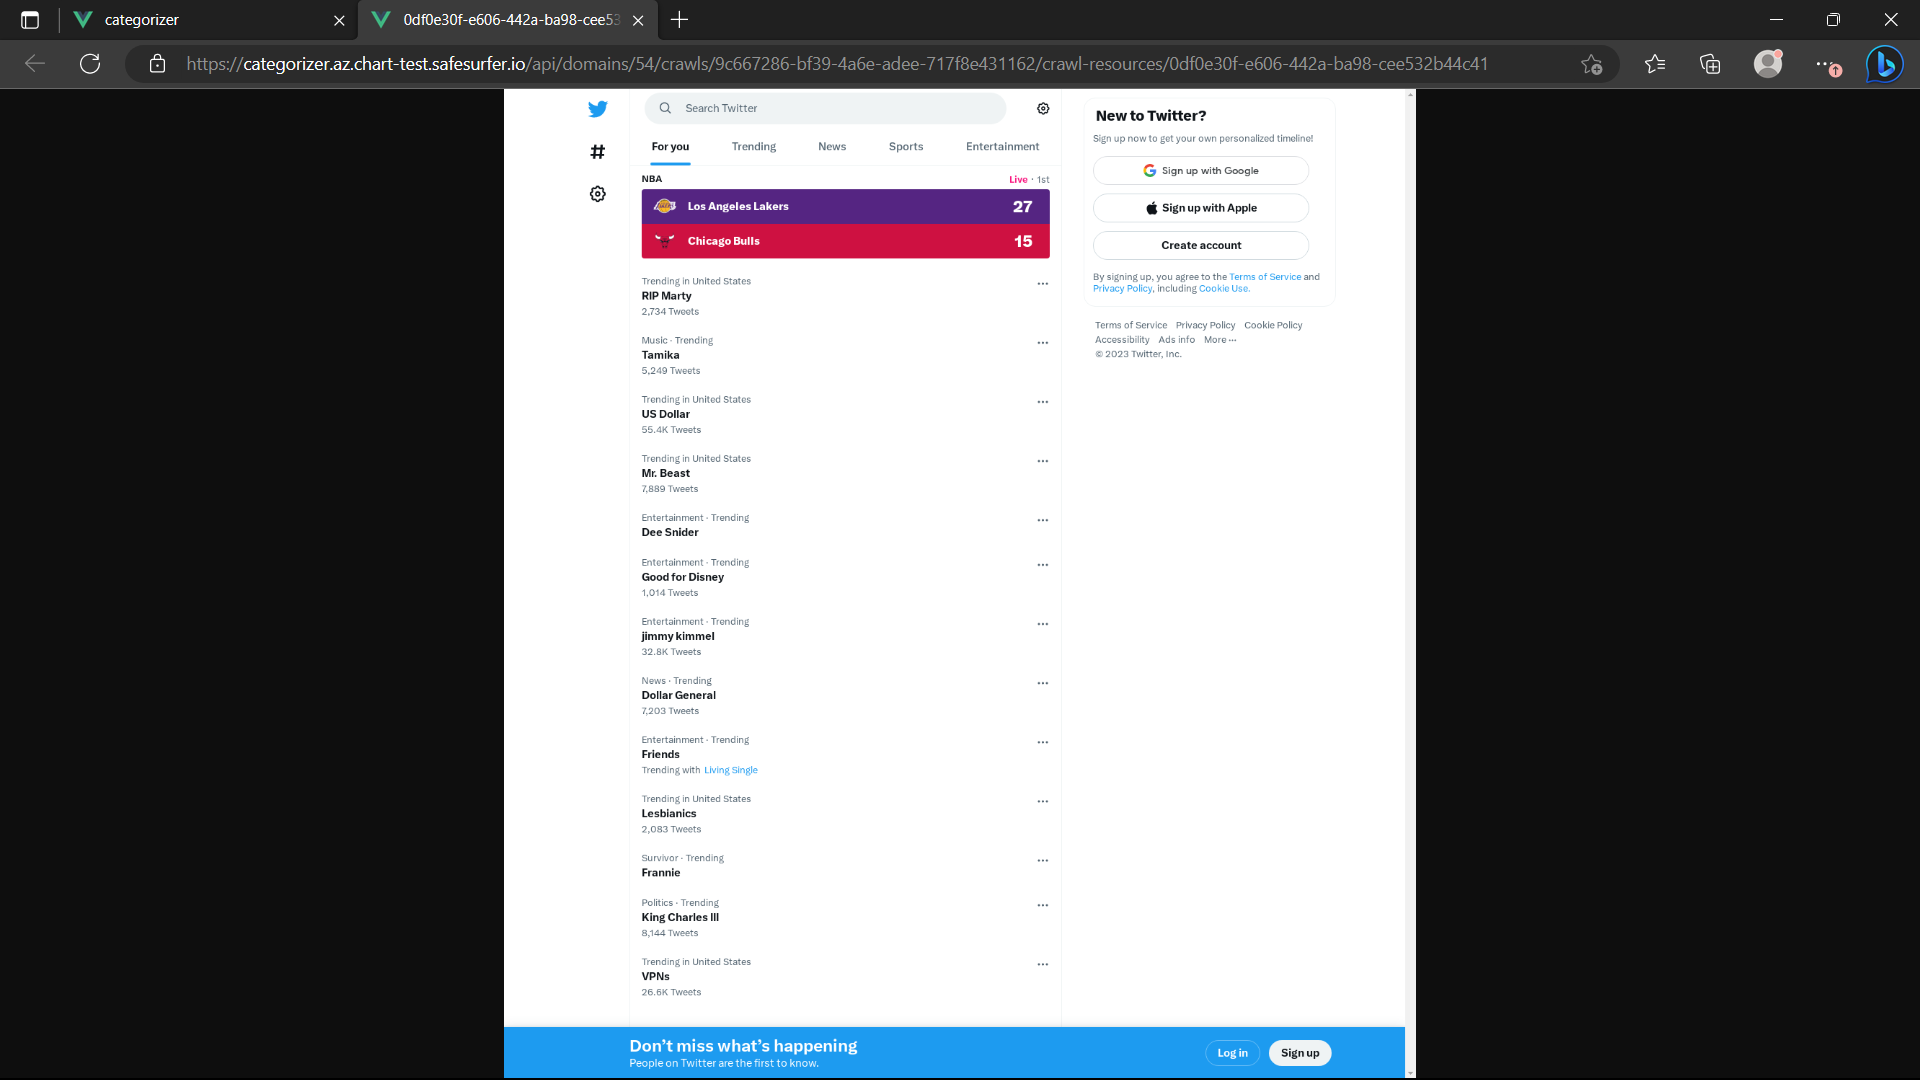
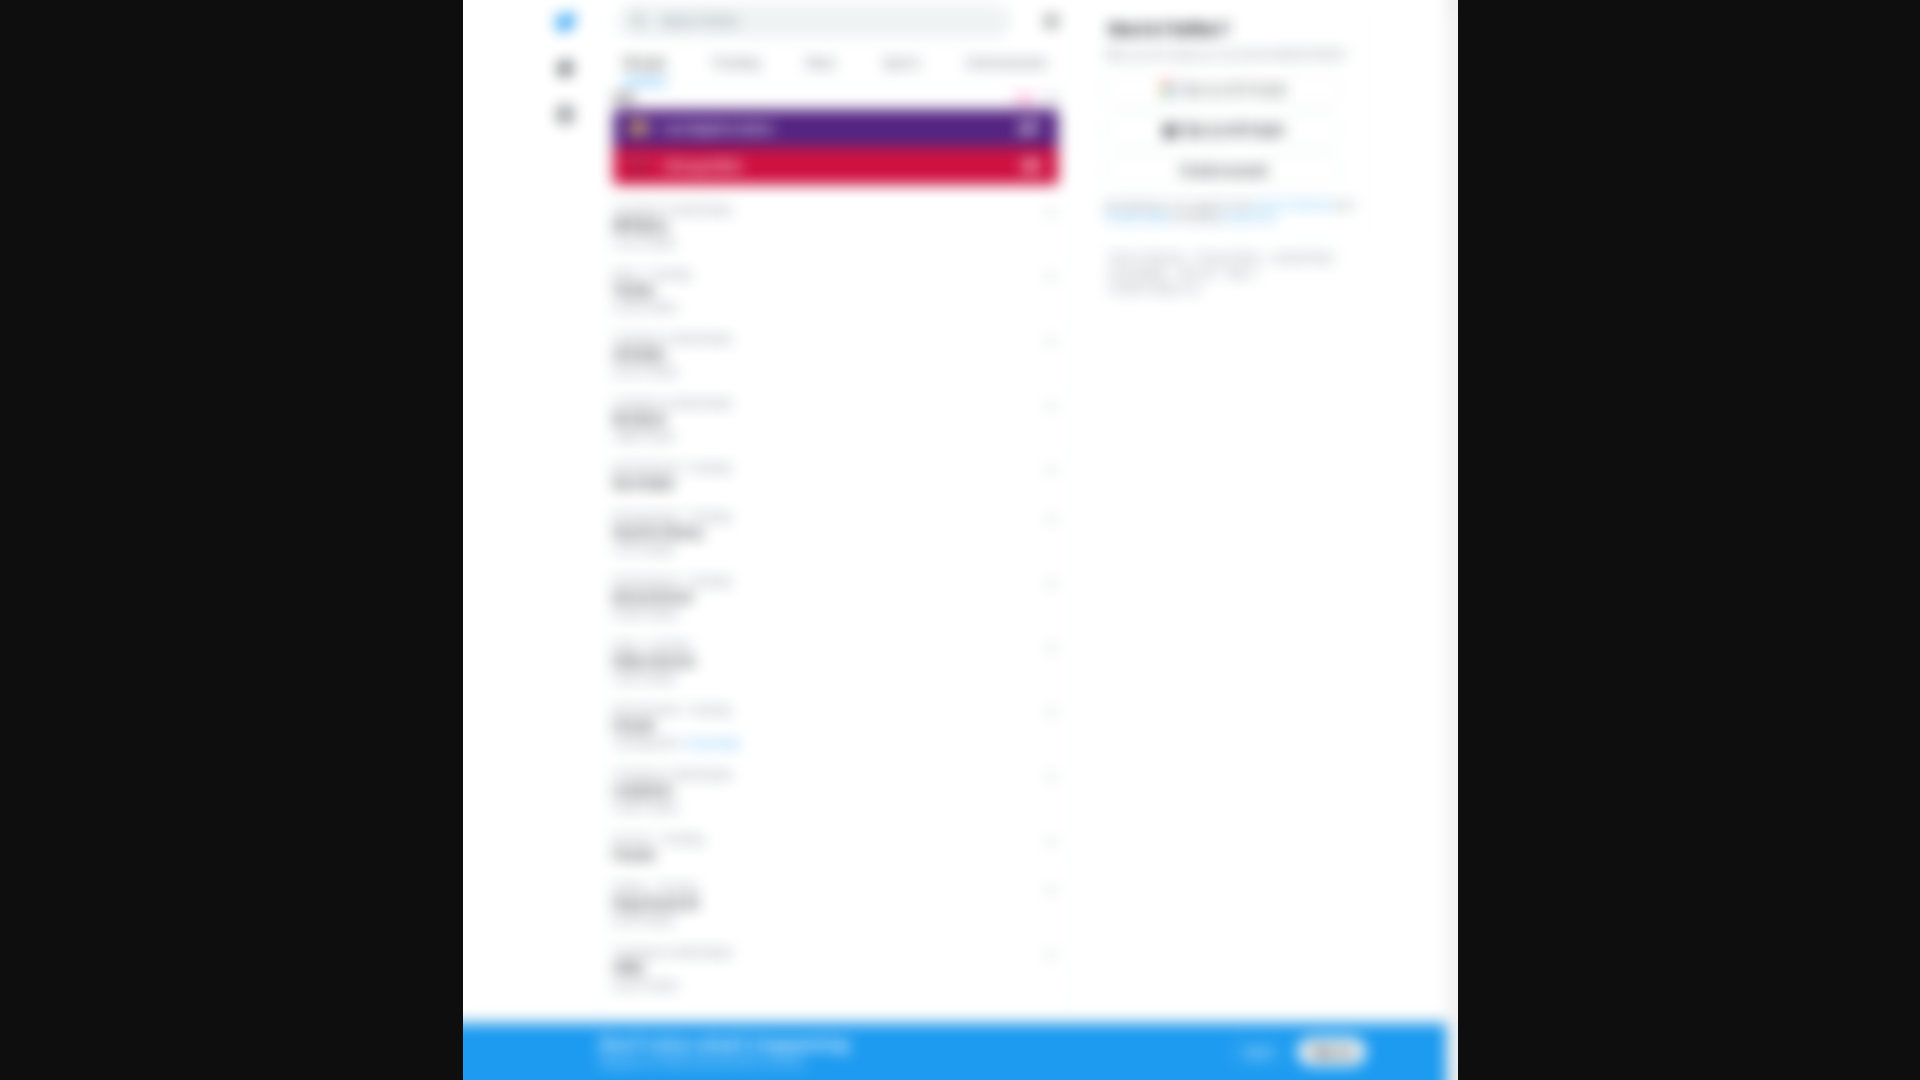
You can view blurred versions of any of the images to handle sensitive content:
Adding translation
In its default form, the crawler doesn’t handle the international internet, unless you incorporate international sites into the training data. You can remedy this by adding a translation provider to the crawler:
providers:
  translation:
    gcpexample:
      platform: gcp
      maxLen: 5000
      secret: |
        credentials: |
          {
            "type": "service_account",
            "project_id": "example-project-id-123",
            "private_key_id": "example",
            "private_key": "-----BEGIN PRIVATE KEY-----\nexample\n-----END PRIVATE KEY-----\n",
            "client_email": "example@example-project-id-123.iam.gserviceaccount.com",
            "client_id": "123",
            "auth_uri": "https://accounts.google.com/o/oauth2/auth",
            "token_uri": "https://oauth2.googleapis.com/token",
            "auth_provider_x509_cert_url": "https://www.googleapis.com/oauth2/v1/certs",
            "client_x509_cert_url": "https://www.googleapis.com/robot/v1/metadata/x509/example%40example-project-id-123.iam.gserviceaccount.com"
          }
        project: example-project-id-123
categorizer:
  autoCat:
    crawlerWorker:
      jobs:
        translation:
          enabled: true
          provider: gcpexample
dns:
  newDomainNotifier:
    addConfig:
      crawling:
        config:
          translate: true
          detectLanguage: true
          homeLanguage: en
          # OR the following to discard international pages
          # translate: false
          # detectLanguage: true
          # homeLanguage: en
CSAM checking
To add CSAM checking, obtain a project arachnid API key and add it to the classifier:
categorizer:
  autoCat:
    classifier:
      csamChecker:
        enabled: true
        # Create a new category (blocked by default) and add the ID here. It is recommended to turn off "Suggestions Only" for autocat
        # on this category to immediately block any domains with detected CSAM.
        categoryID: 0
        apiKey: my-api-key
The classifier will now check images against the project arachnid API.